My old desktop has been chugging along nicely for a good 4 years. I originally built it in a Fractal Design Define Mini, because I wanted a relatively compact case to suit my mATX motherboard, and a quiet computer. It does the quiet thing extremely well. However, it’s a really inefficient use of space in there. The cables are a mess to sort out, and adding drives becomes an exercise in rage control. Thankfully, modern case design has disposed of the ‘drive’ area towards the front of the case, in favour of more space for cooling and cable management. In fact, I wrote an article a while back on how cases should eventually barely be larger than a motherboard. It appears the industry is already on the way there.
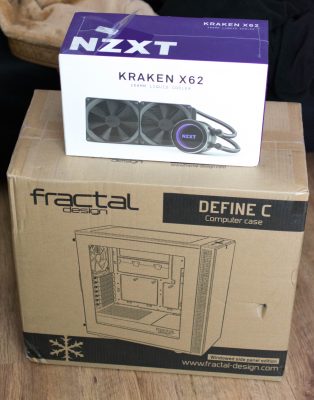
Though I looked at many possible case options, particularly the tempered glass beauties by NZXT (340 Elite) and Corsair (460X), the winner for space efficiency at a decent price without the extra weight of glass ended up being yet another case by Fractal Design: the Define C. Of course, I needed a bit of eye candy for that windowed side panel, and my Coolermaster Hyper 212 Evo CPU cooler had to be cut. Whilst I’m a proponent of air cooling in general (because it’s quieter, cheaper, and generally just as effective unless you go all out with a fully customised liquid loop), I was tempted by the attractiveness and ease of installation that closed loop watercoolers provide. “Why not go the whole way?” I thought, and also ordered an NZXT Kraken X62. Is it expensive and totally unnecessary? Yes. Do I like shiny, pretty things? Yes.
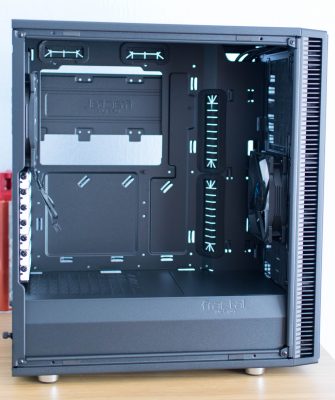
The minimal size of the Define C is astonishing. It’s much shallower and only very slightly taller. ‘Why didn’t you get the Define Mini C?’ I hear you ask. Well, after knowing the pain of building with barely any space to put your hands, I welcomed the extra space. Plus, the cost and size differences between the Mini C and full C are negligible. This means I have the option of using a full ATX motherboard in future if I need to.
|
|
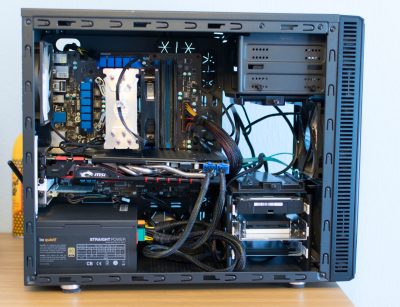 |
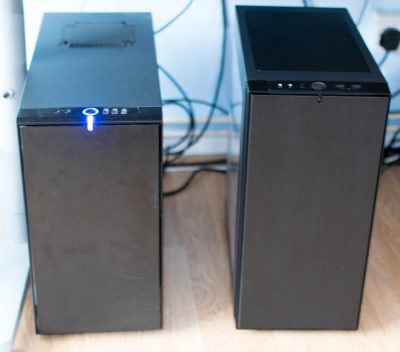
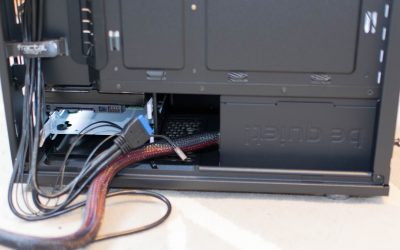
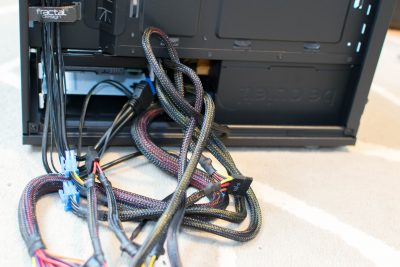
You can see just how much space is wasted in the Define Mini on the right. The cables are a mess since there’s no separation between the power supply and the motherboard area. I didn’t take a photo of the back, but it was always a challenge to get that rear panel on (which is one of the reasons why there’s so much cable mess towards the front). The 5.25 inch drive bays are redundant in this day and age I think. Optical media, at least for me, is dead. I have a USB DVD writer in the few instances I need to use physical media. It gets used maybe once a year.
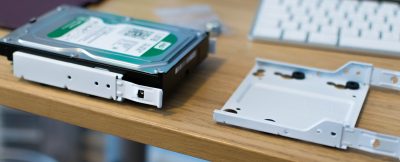
Another thing to note is that I bought a converter to allow me to mount two SSDs in a regular hard drive bay (it’s the second one down). Previously, I had the removable additional 3-slot drive bay installed, so that each of my 4 drives were in separate bays. But imagine how little space that leaves for cables. Even thinking about it is making me break out into a sweat. Also, the front fan would be right up against it. Yet, the converter also has its issues. The screws are a nightmare to get in, and therefore, it makes it quite laborious to switch out drives. It also doesn’t screw onto the drive tray very securely, at least in the Define Mini.
The CPU heatsink in an air-cooler is notorious for getting in the way of things. It’s also pretty sharp. A real nightmare when you are upgrading your graphics card, or installing RAM. Performance wise, I have no problem with it, but I think the main reason closed-loop watercoolers are so popular now is precisely because of the practical fitting issues (as well as aesthetics, of course). This is the reason I wanted one.
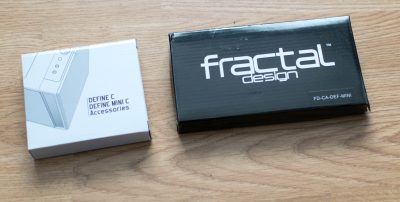
There are far fewer loose fittings, which is great. However, that larger box for the original Define Mini contains a handy fan controller that can be mounted in a PCI slot.
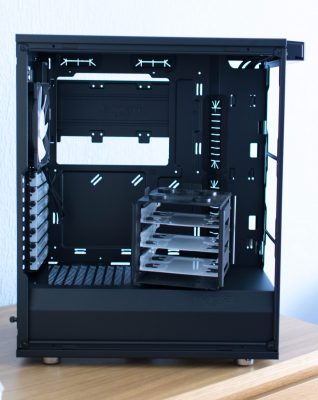
All the panels are now off (hooray for captive thumbscrews!), and we’re ready to get cracking. I’ve put the removable drive cage from the old case in there just so you can see how much space is saved by not having to make room for it.
I thought I could get away with just slotting my drive into the new cage underneath the power supply (PSU) shroud, but they’ve actually changed the shape of the drive trays in the Define C. They’re quite a lot lighter, which is something that can be said of every single piece of metal on the Define C. The Mini, in comparison, is a tank. I prefer the lightness, but I can completely see why others might value the old ‘solid’ cases of yesteryear. The Mini could probably survive a nuclear attack. Allegedly.
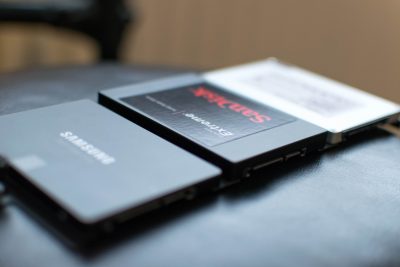
Whilst I’m dealing with the drives, I may as well screw my 3 SSDs on the convenient tray that sits behind the motherboard. I was skeptical of how robust it would be, and what the fit would be like, but it worked like a charm.
The hard drive, on its new tray, slots nicely into the upper of the two bays. There is ample room between the hard drive cage and the back of the PSU, so there’s no worries about having enough cable space. However, I made mistake #1. You need to pre-plan the cables you need to plug into your modular power supply (if you have one), because unless you have fairy hands, you won’t get them into that space. Out the PSU comes…
The PSU is luckily held in place by two thumbscrews, so it doesn’t take long to slide out and plug in the relevant cables.
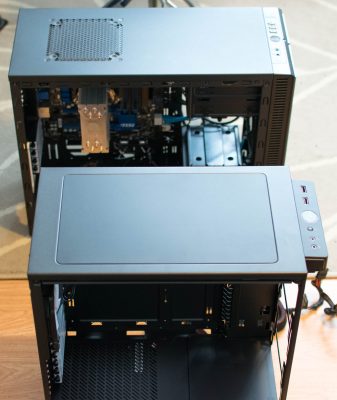
Again, you can see the length difference between the two cases. Also, notice that newer case designs allow you to pop off the front panel without taking the IO stuff with it. The front panel on the Define Mini is a nightmare in comparison, but it comes from a different era really. 5 years in the PC space is a long, long time.
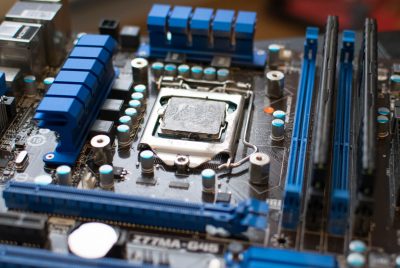
Getting the heatsink off the CPU was quite the ordeal. Dismantling the rest is otherwise not that difficult. However, that CPU needs a good alcohol swab to get that thermal paste off.
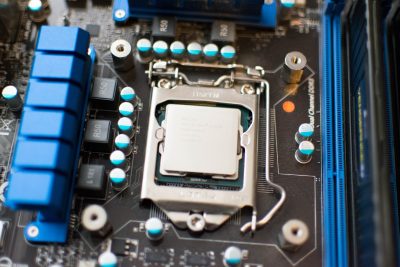
5 years is a long time in technology, but apparently not in processor land at the moment. My Ivy Bridge Intel i5 3570K is barely slower than brand new Intel chips, and with a decent overclock there’s really not much real world difference at all. This is why I see no real reason to upgrade my innards as yet.
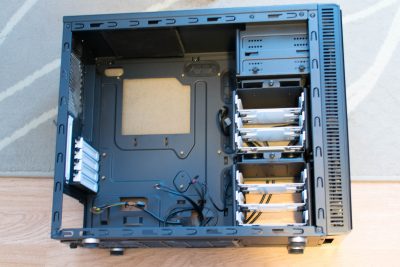
I put in the other drive cage so you can see how little space is left around the motherboard area in the Define Mini. I removed the rear 120mm fan to keep as a spare. When the fan is installed, there’s even less room. Space for more fans and other cooling is virtually non-existent, even though the case supports them in theory.
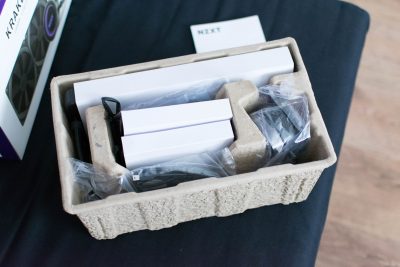
I opted for the highest end version of the Kraken CPU cooler, since the three models (X42, X52, X62) are not that different in price anyway. The X62 has a 280mm radiator, and two 140mm fans. Larger fans should make less noise since you can run them at lower RPMs, and watercooling performance is really only as good as the surface area of your radiator.
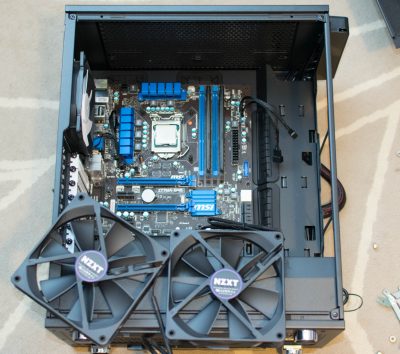
Even though everything should fit, I was a little concerned about how cramped things might get. There can still be issues with cable routing, as you can see with my original build in the Mini.
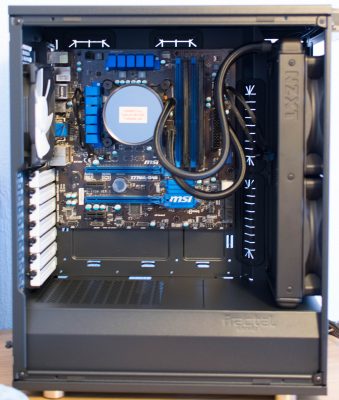
Evidently, I had nothing to worry about. The radiator fits perfectly, sitting on the power supply shroud for added support. Right now, this thing looks elegant as hell. Unfortunately, it’s going to have to get a bit messier once I put in the graphics card and begin to wire everything up.
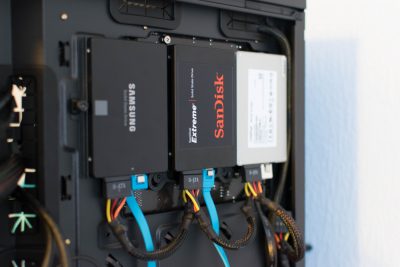
L-shaped SATA cables are not ideal here, but I only have one flat-to-flat cable. With a lot of bending, I managed to get the L-shaped connectors to fit on the first and last SSDs. The middle one absolutely needs to have a flat cable because the back panel of the cooler is directly behind it. An air-cooler back panel would have made this even more of a nightmare. I look forward to the day all storage is directly plugged into motherboard slots.
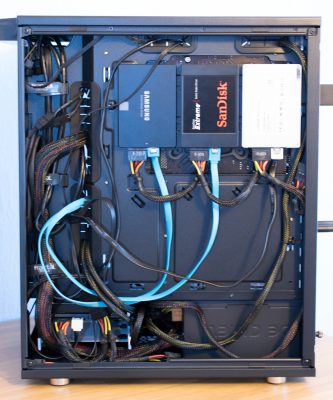
Plugging everything back in was by far the most time consuming part of the transplant. However, routing the cables was a breath of fresh air coming from the Mini. The flat layout of the SSDs actually makes the SATA power cables much easier to organise than when they were in cramped drive cages. The recessed area at the front is great for accommodating that horrible 24-pin motherboard power cable. I could have used more cable ties and neatened it up further, but I like to keep things fairly flexible in case I need to change things around in future.
 |
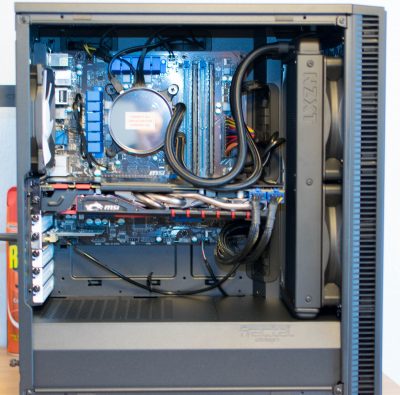 |
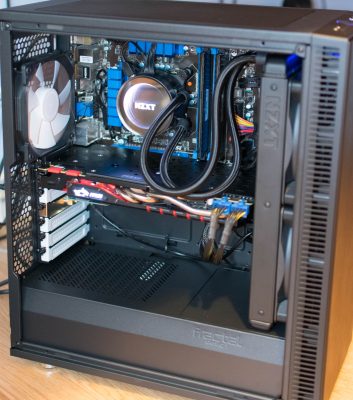
Took me a good 5 hours I’d say, but it was pretty fun overall. There’s ample space for my 980Ti, and that extra height for the ATX form factor just gives everything a bit more breathing room. The before/after highlights what efficient use of space can do.
 |
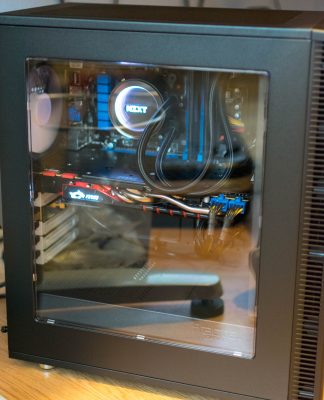 |
Overall, my CPU temps are much lower (as you might expect), but the cooler is a fair bit noisier than my Coolermaster Hyper 212 Evo. At the moment, I’m running fans at constant RPM with the pump at variable speed via the BIOS. However, I might try and fiddle around with the CAM software NZXT uses to control the Kraken to see if I can improve on this arrangement. It seems like settings are actually saved in memory on the pump part of the cooler (since it has saved my light colour options indefinitely), which suggests that I don’t have to keep the software running in order to keep a new fan profile going. This would be ideal if true, but more experimentation is required. An air-cooler would indeed solve all the noise concerns, but it’s difficult to see myself going back after experiencing just how easy liquid cooling is to work with. Also, just look at how pretty it is.
Update: I always end up doing things my way first even if they are not in accordance with general guidelines, which can get me into trouble sometimes (in life, as well as system building). I did indeed connect the radiator fans to the Kraken cable, rather than directly to a fan header on the motherboard, and now I have much more fine-grained control of the fans via the NZXT CAM software.
The pump is variable speed, but every speed setting emits a different frequency hum. I found that 65-70% was as close to imperceptible as I could get for my ears, so I opted to keep the pump fixed at this speed. The fans are variable depending on liquid temperature (you can choose to anchor them to CPU temperature if you prefer). At idle, they hover around 550RPM, and the computer overall is both quieter and cooler now than with the air-cooler.
The CAM software is supposed to save the profile to the hardware itself, so you only need to configure it once and leave it. This is a boon if you are like me, and do not use Windows as your primary OS, but instead dual/multi-boot. It does, however, mean that you need Windows installed in some form, as NZXT do not have a Linux/Mac version of CAM. However, even the Windows version is very buggy. I can’t seem to get it to save my profiles at the moment after a cold boot. I hope NZXT can fix this in the near future. Luckily, the default configuration is the ‘silent’ one, so despite software woes, the cooler itself still functions brilliantly out of the box.


Nice transplant! Which graphics card do you use? I have 1080 here 285mm long and I am not sure if it fits together with x62.
It’ll be snug but it should fit. Mine is an MSI 980Ti Gaming 6G. It is apparently 282mm long, and I’d say there’s about 6 or 7mm before you risk hitting the radiator frame. My guess is that 290mm would be the limit with this configuration, but it’s a bit difficult to measure exactly.
If I were you, I’d compare the MSI 980Ti specs online with the 1080 you are looking at and make sure the information is from the same source or quoting the same measurement. As long as the 1080 is not more than about 7mm longer than the 980Ti (which is a large-ish card anyway) then you should be fine.