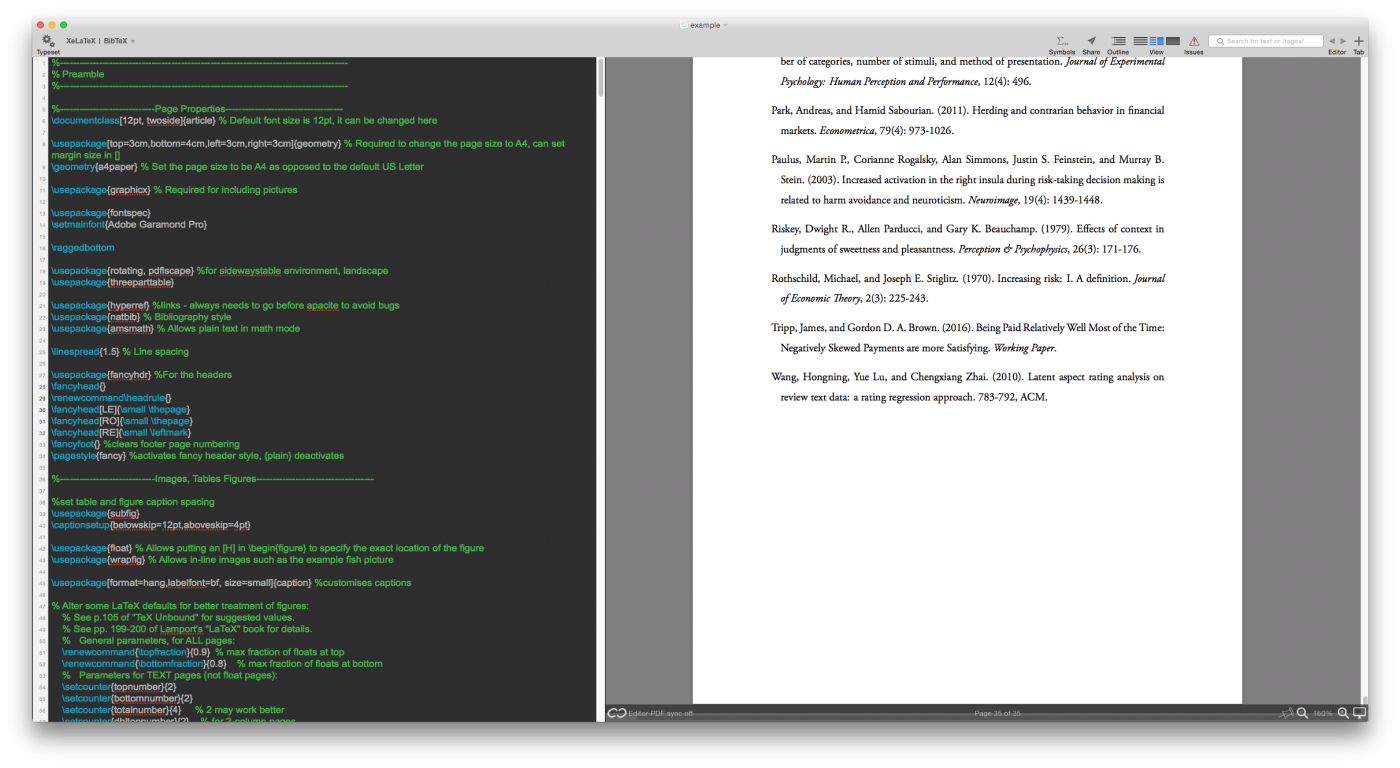
LaTeX is amazing for producing beautifully typeset documents. However, it can also be a bit of a clunky pain in the backside. Granted, much of that pain comes from tables, but there are other niggles here and there that can make your life a bit miserable. Hopefully, a CSS + HTML based solution may take over as a more modern and efficient markup language for typesetting in future. For now though, here are a few LaTeX packages I use frequently.
The ‘usepackage’ initialisation command always goes in the preamble (i.e. after \documentclass and before \begin{document}). If there are subsequent commands to use the package in the body, I will specify this on a case-by-case basis.
1. pdflscape
\usepackage{pdflscape}
Often, your images or tables are too small when crammed into a portrait layout. There is a package that allows you to rotate the object in question. However, this has the disadvantage that the page itself is still portrait, which can be a pain if you want to view the resulting PDF on a computer. The pdflscape package rotates the page entirely, which means that everything is oriented the right way around to read it, whilst still enabling the document to be printed correctly. All you need to do is put your table or figure inside the landscape environment:
\begin{landscape}

[insert object here]

\end{landscape}
|
|
|
2. afterpage
\usepackage{afterpage}
This is useful when used in conjunction with the previous package. In order to prevent large white spaces on the previous page when using the landscape environment, I’d recommend encapsulating it within the \afterpage command:
\afterpage{

\begin{landscape}

[insert object here]

\end{landscape}

}
This forces the landscape page to appear in your document only after a full page has been typeset. Without using this, if you have a lot of landscape oriented pages in your document, you’re probably going to find vast white space in preceding pages where there ought to be text.
|
|
|
3. changepage
\usepackage{changepage}
This is a godsend if you have a document with relatively wide margins (i.e. a narrow text width), but still need to include legible tables or figures. To use it, just invoke the adjustwidth environment within a table or figure environment:
\begin{figure}

\begin{adjustwidth}{-1cm}{-1cm}

[insert object here]

\end{adjustwidth}

\end{figure}

}
In the example above, the -1cm parameters tell adjustwidth to decrease the size of both the left and right margins by 1cm. Since we have invoked the environment within a figure, it ensures that the margins for the rest of the text will stay the same. When used in conjunction with the \centering command, you can have your object in the middle of the physical page, but overhanging both edges of the text by the same amount. The LaTeX default will have the object start at the left margin, which is why tables and figures often frustratingly go off the edge of the page.
|
|
|
4. setspace
\usepackage{setspace}
I don’t particularly like spreading tables out onto multiple pages because it makes data a lot more difficult to process when reading it, so a personal rule is to keep them to one page. However, with LaTeX’s default table padding, you can’t actually fit much to a single page. The setspace package reduces the padding around rows so that tables take up a lot less space. Just put the above command into the preamble. No other commands are required within the document.
|
|
|


